
Carrd doesn’t offer different types of forms like platforms dedicated to form building. Instead, it has one simple Form website element that you can use as a contact form, or you can connect your Carrd website to a third-party form platform such as Mailchimp, HubSpot, EmailOctopus, and many others.
The best option depends on what you want your form to do. In this tutorial, I’ll show you how to use the Carrd Form element as a simple contact form. I’ll also show you how to add a free custom form from Google Forms or Tally.
Does Carrd Have a Form Builder?
Carrd offers a Form element that you can use to create a simple contact form, connect to third-party platforms, or customize with code. It is a paid feature, so you need at least the Pro Standard plan.
Carrd also has an Embed element, which is available on Pro Standard or higher. You can use it to add custom forms from third-party platforms such as Google Forms or Tally.
If you are using Pro Lite, neither the Form nor Embed element is available.
Carrd Form vs. Embedded Form
Carrd gives you two main ways to add a form to your website. You can use the built-in Carrd Form element, or embed a form created with an external platform such as Google Forms or Tally.
The right option depends on how much customization you need and where you want your form submissions to go. Here is a quick comparison:
| Option | Best for | Difficulty |
|---|---|---|
| Carrd Form | Simple contact forms | Easy |
| Google Forms | Free surveys and questionnaires | Easy |
| Tally | More customizable forms | Easy |
| Other form platforms | Advanced integrations and workflows | Depends |
How to Add a Carrd Form
Before you start, you will need to create a Carrd account and get at least the Pro Standard plan. Once you log in, you can either start a new site from scratch or choose a template. If you already have a site you want to edit, simply click its thumbnail in your Carrd dashboard.
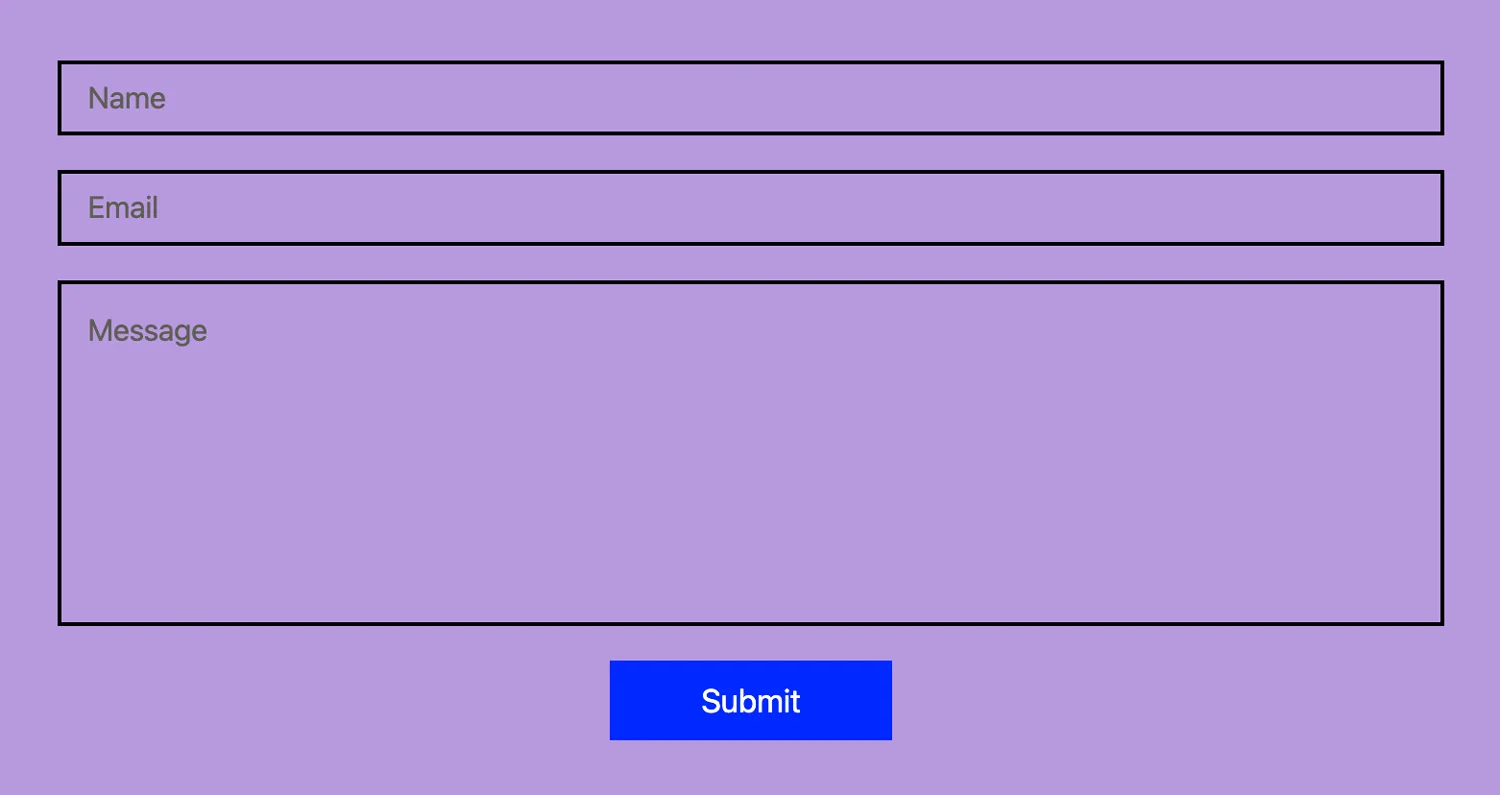
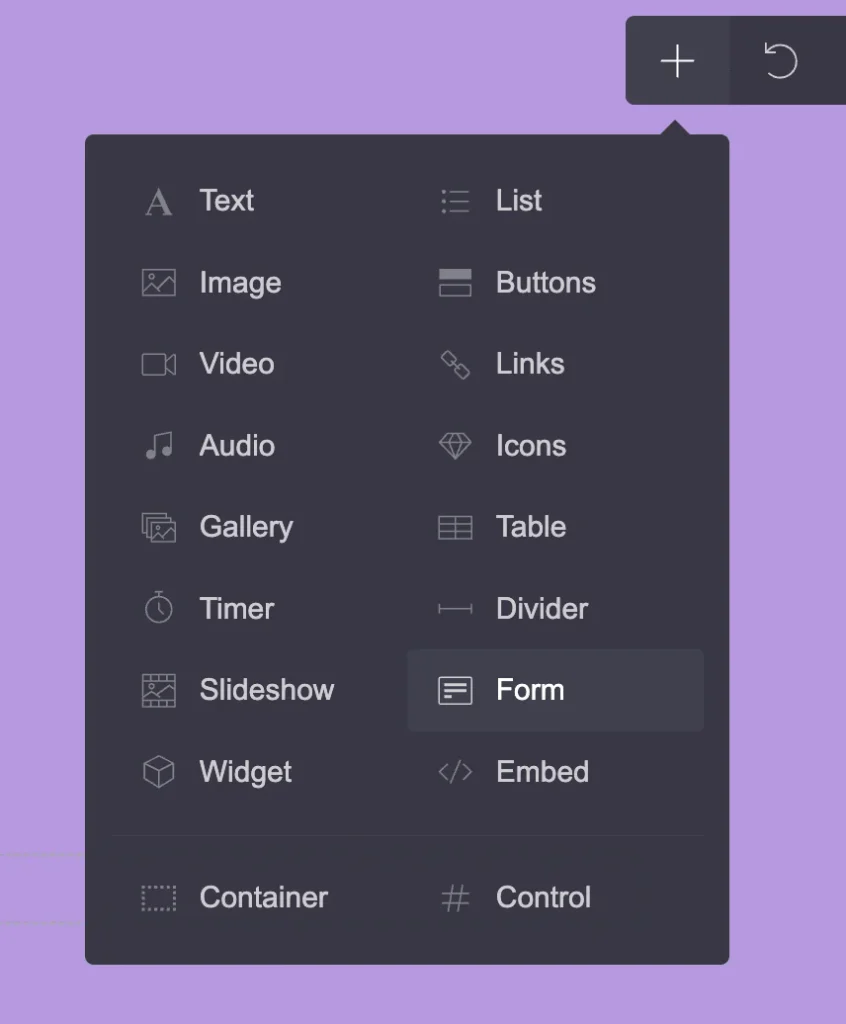
Once you are inside the Carrd editor, click the + icon in the top-right menu and select Form. A simple contact form with a few fields will appear on your page.
When you click the form, a new settings menu will appear on the left. This is where you can customize how your form works.
Choose the Form Type
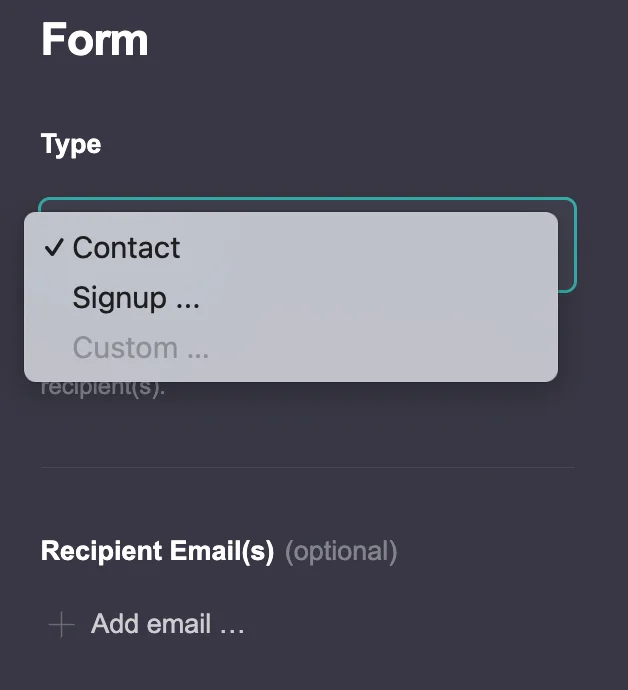
Under Type, you can choose between a contact form and integrations with third-party platforms. For third-party integrations, Carrd may ask you to enter API keys or API tokens, depending on the service you are connecting.
For this tutorial, I will focus on the first option: the Contact form.
Add Your Email Address
Below the Type field, you can add up to 10 email addresses where you want to receive form submissions.
If you do not add any email addresses, form messages will be sent to the email address associated with the site owner.
You can also enable Filter Messages to let Carrd automatically filter potential spam.
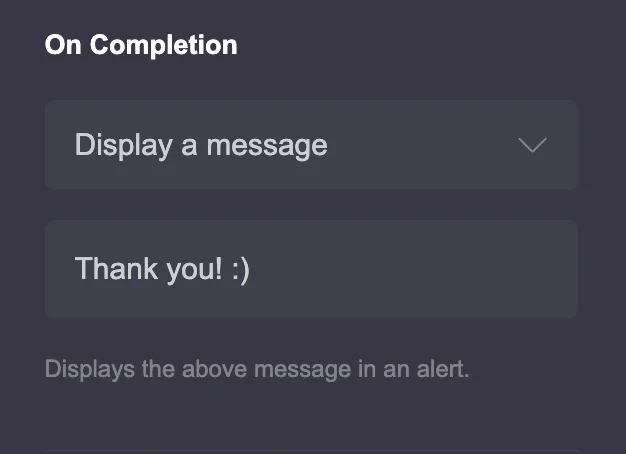
Choose What Happens After Submission
Next, you need to decide what happens after a visitor fills out the form and clicks Submit.
Depending on your Carrd plan, you can display a confirmation message, redirect the visitor to another page, run custom code, or do nothing.
The Code and Do Nothing options are available only with Pro Plus.
Add Spam Protection
Carrd also lets you add spam protection to your form. Depending on the available options, you can choose Cloudflare Turnstile, Google reCAPTCHA v2, or hCaptcha, or leave the default option enabled.
For a simple contact form, I recommend keeping the default setting unless you have a specific reason to change it.
Configure Additional Form Options
Carrd also includes several additional options that you can use depending on how your form works.
These include:
- Autofocus Form
- Collect UTM Parameters
- Prefill Fields
- Reset on Section Change
- Enable Debug Mode
- Export Variables (Pro Plus)
You do not need to enable these options for a basic contact form. They are more useful when you need additional tracking, prefilled information, or more advanced form behaviour.
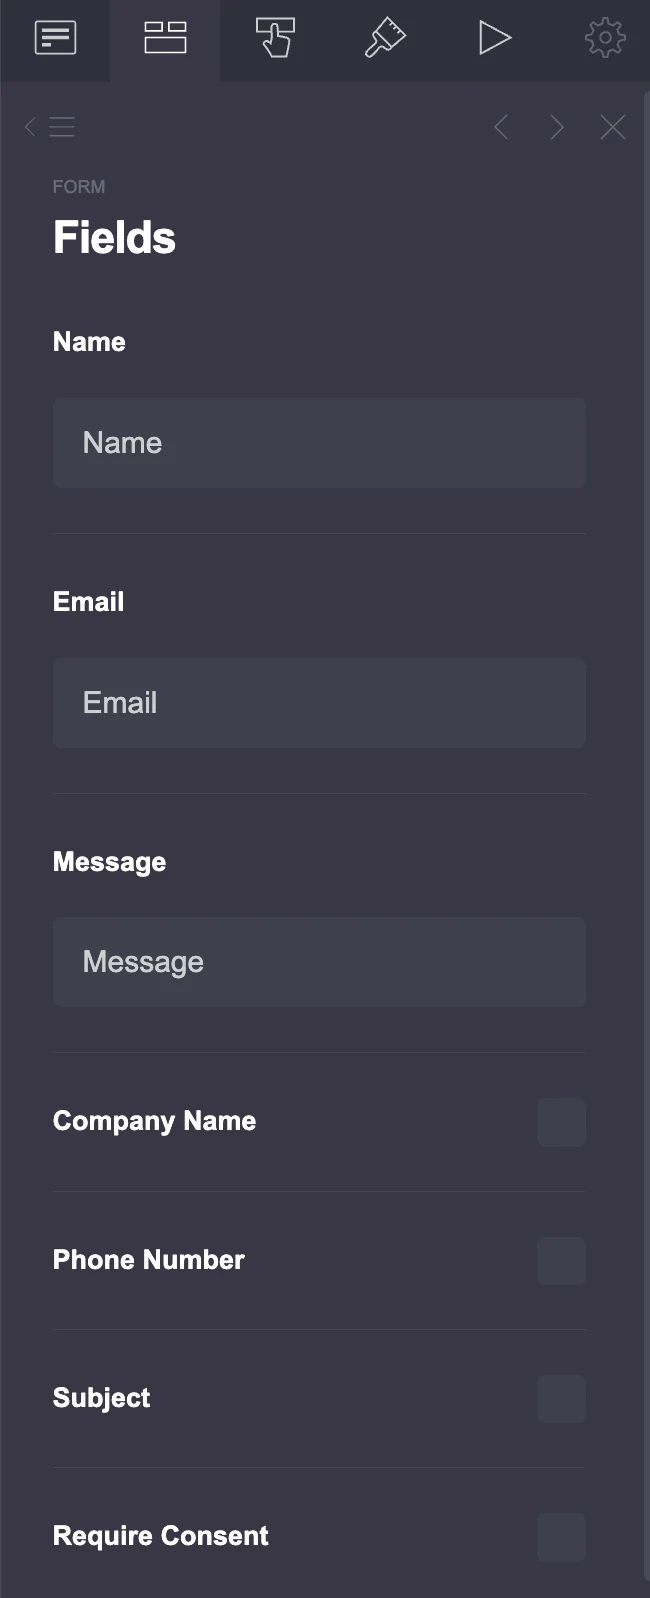
Add More Form Fields
A basic contact form may only need a name, email address, and message. If you need more information from your visitors, click the second icon in the top menu to add additional fields.
For example, you can add:
- Company Name
- Phone Number
- Subject
- Require Consent
You can then configure each field according to the information you want to collect.
Customize the Submit Button
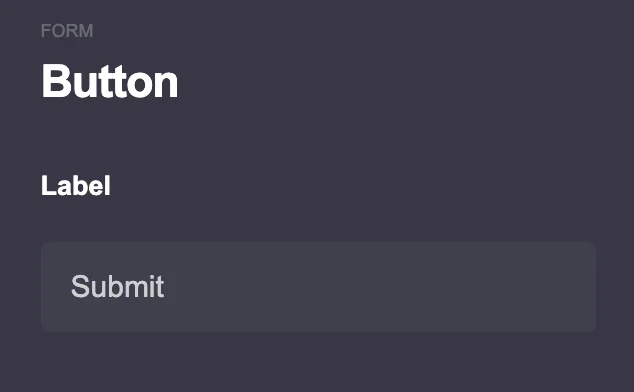
Click the third icon in the top menu to customize the submit button. Here you can change the button label and configure its click action.
Some click actions are available only with Pro Plus.
Customize the Form Design
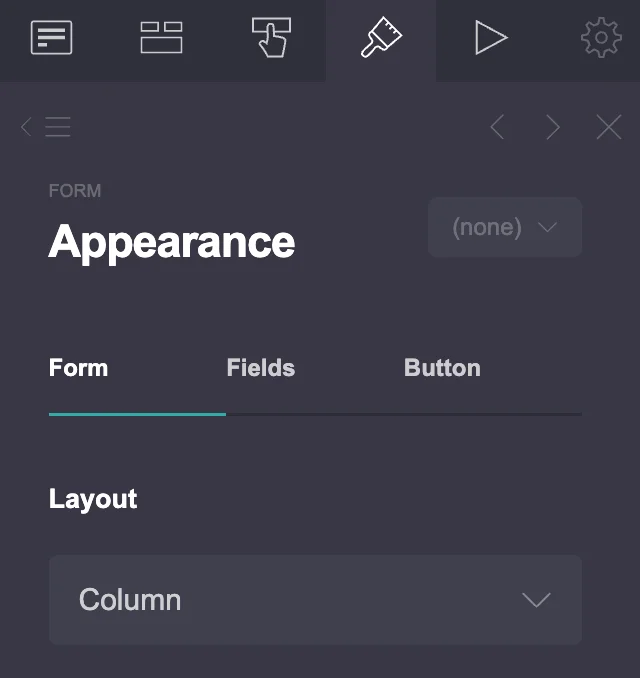
If you want to change the appearance of your form, click the Brush icon, which is the fourth icon in the top menu.
Carrd lets you customize the Form, Fields, and Button separately. You can adjust the form width, spacing, margins, alignment, and mobile settings.
For individual fields, you can change options such as:
- colors
- fonts
- font sizes
- font weights
- line spacing
- letter spacing
- field style, such as inline or outline
- corner rounding
- shadows
You can also customize the button using similar design options.
Carrd includes automatic mobile settings, so you can usually leave them on AUTO. If you decide to make specific changes for mobile, switch to the mobile view by clicking the mobile icon in the top-right corner of the editor first.
This lets you see how your changes will look on smaller screens while you work.
How to Embed Google Form in Carrd
If you want to use a Google Form instead of the built-in Carrd Form element, you can embed it directly into your Carrd website. This is useful if you want to create a free form with more fields or options without setting up another paid form service.
Create Your Google Form
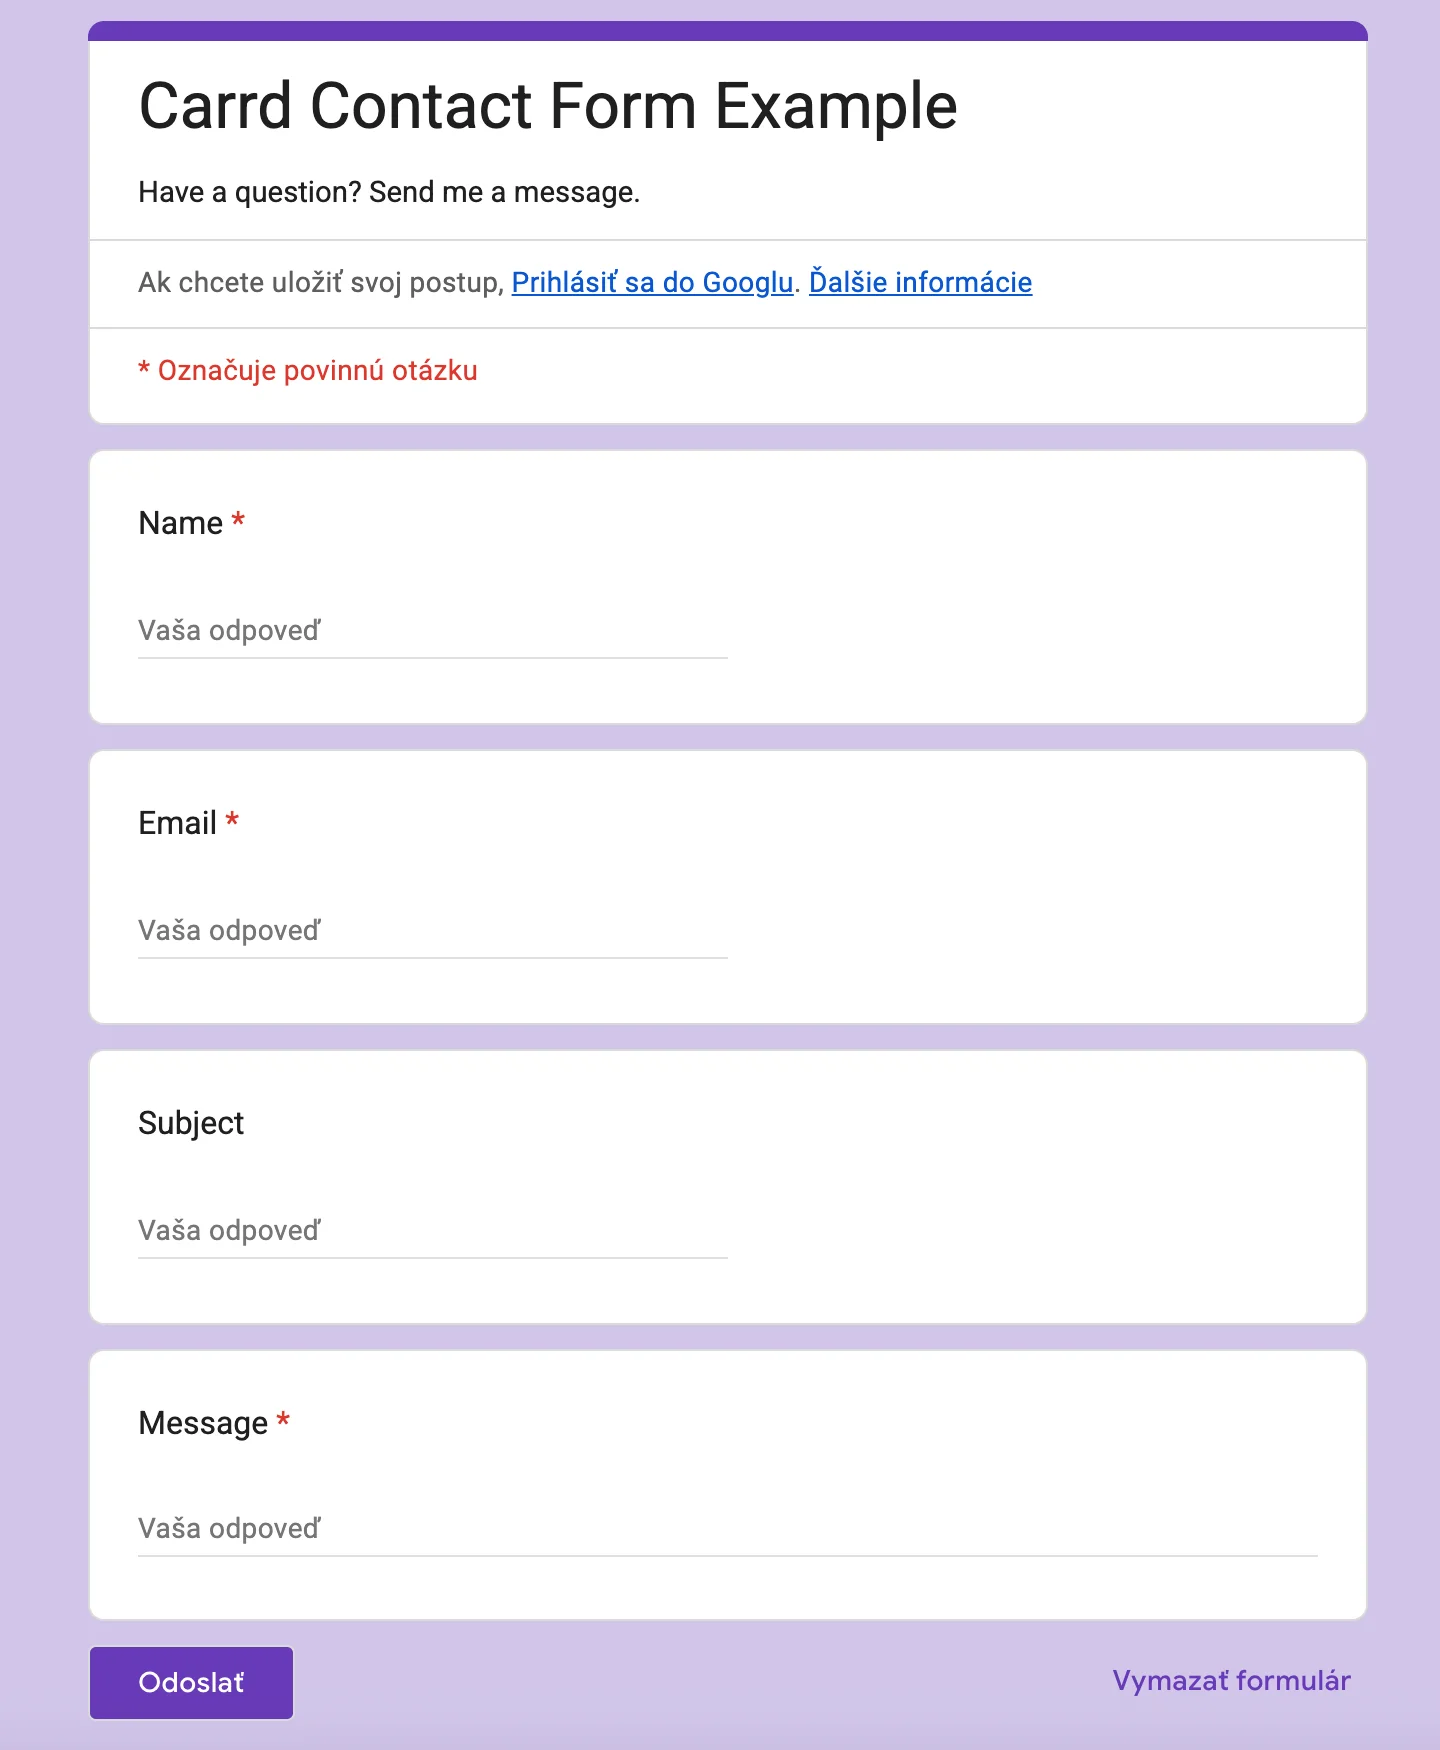
First, create your form in Google Forms. You can start with a blank form or use one of Google’s templates.
For a simple contact form, you could add fields such as:
- Name
- Subject
- Message
Just start and hit the Plus icon and then add fields with short answers for name, email, subject and for message select paragraph. You can also select required.
Once your form is ready, click Publish in the top-right corner.
Get the Google Form Embed URL
Then click on three dots next to Publish button and select import HTML. You will get your iframe.
Google Forms will give you an iframe code that looks similar to this:
<iframe src=”https://docs.google.com/forms/d/e/YOUR-FORM-ID/viewform?embedded=true” width=”640″ height=”857″ frameborder=”0″ marginheight=”0″ marginwidth=”0″>Loading…</iframe>
You don’t need to copy the entire iframe code for this method. Instead, copy only the URL between the quotation marks after src=.
It should look similar to:
https://docs.google.com/forms/d/e/YOUR-FORM-ID/viewform?embedded=true
Add the Google Form to Carrd
Open your Carrd website and add an Embed element.
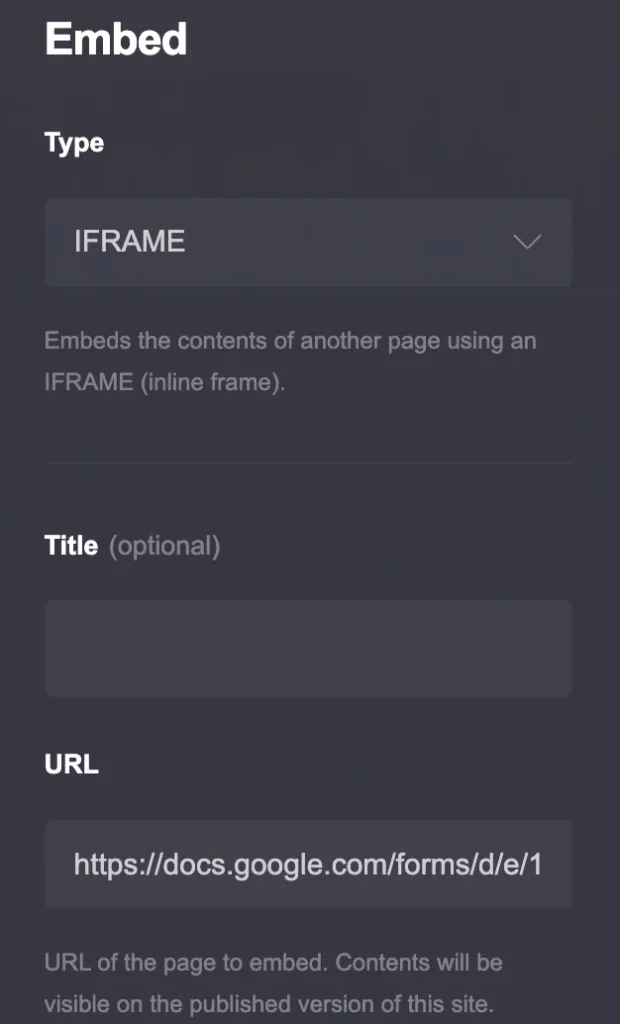
In the Embed settings, choose Iframe instead of Code.
Paste the Google Forms URL into the URL field.
You can then adjust the dimensions of the embedded form if necessary. I recommend checking the result in both desktop and mobile views before publishing your site.
Using the Iframe option keeps the setup simple and avoids having to add custom CSS to make the embedded form fit your Carrd layout.
Test Your Google Form
Before publishing your website, open the form in preview mode and submit a test response.
Check that:
- the form fits your Carrd layout
- all fields are visible
- the form works correctly on mobile
- the submission is received in Google Forms
- the confirmation message appears as expected
If everything works correctly, your Google Form is ready to use on your Carrd website.
How to Embed Tally Form in Carrd
Tally is another free option if you want to add a custom form to your Carrd website. Creating a basic Tally form is quick and does not require any coding.
Create a Simple Tally Form
First, go to Tally and create an account. Once you are logged in, click Create form, give it title and start with a blank form (press enter to start from scratch).
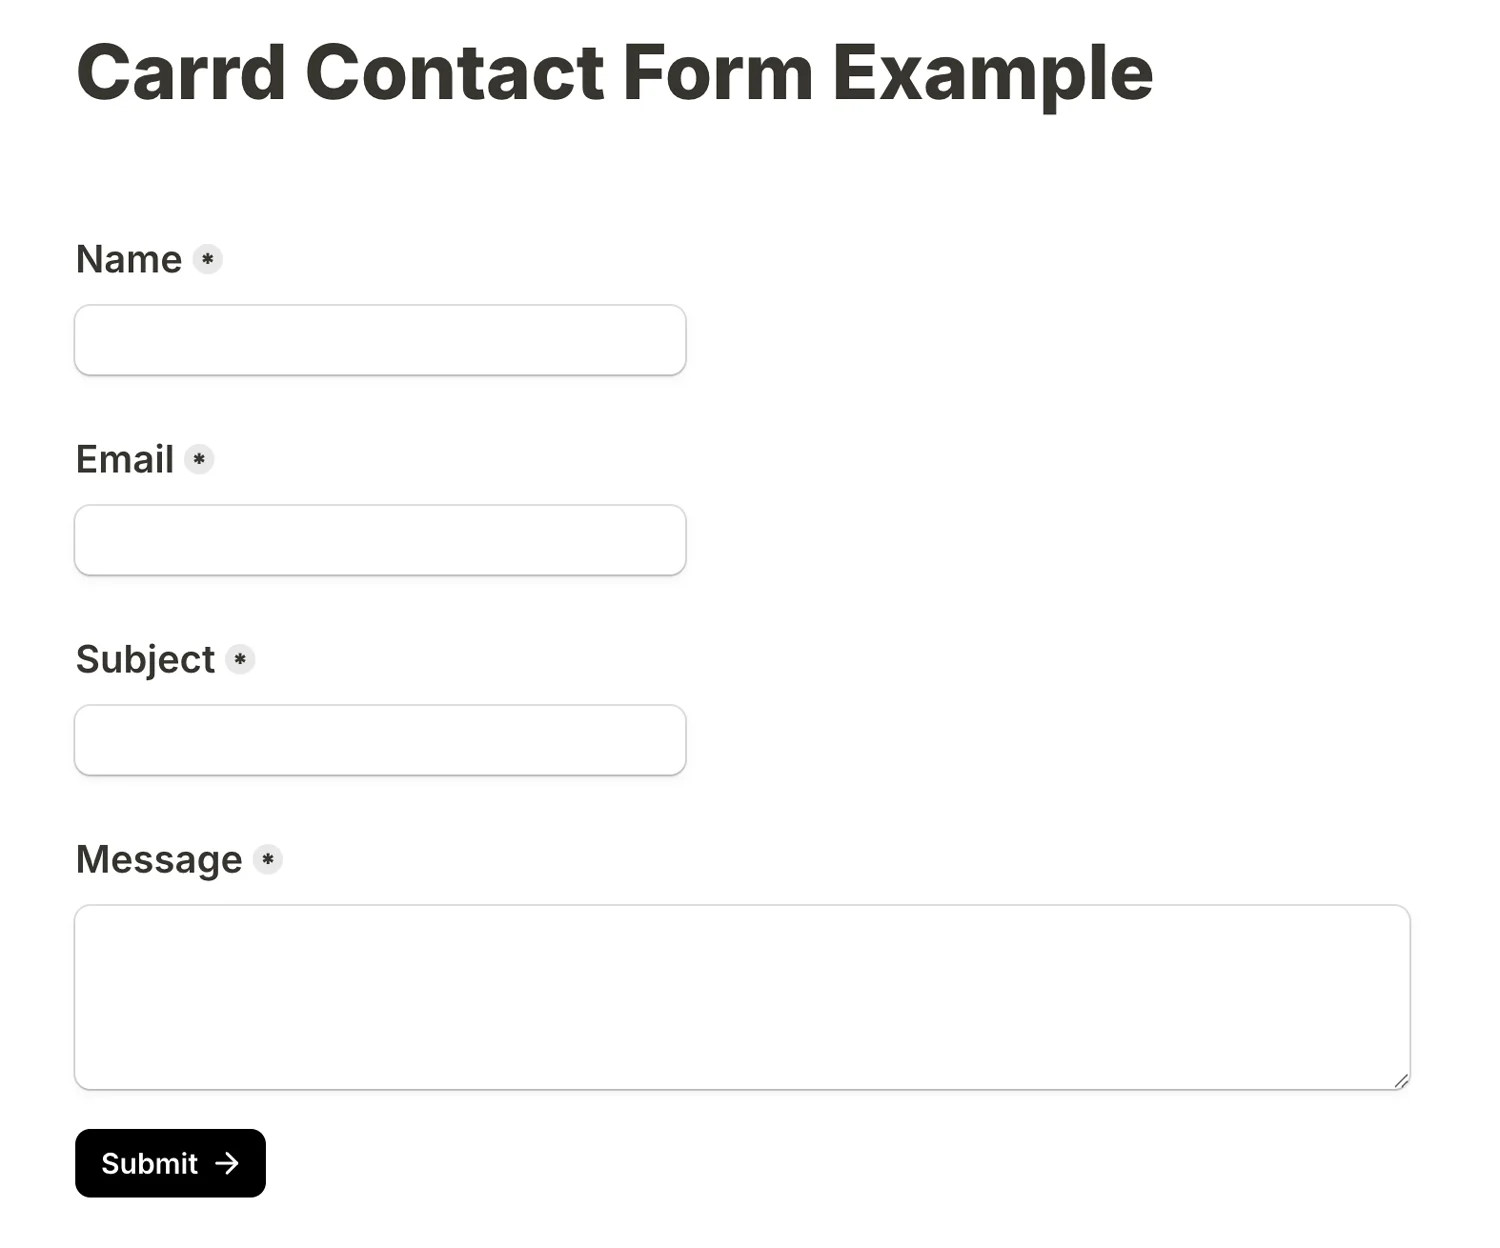
For a simple contact form, you can add fields such as:
- Name — Short answer
- Email — Email
- Subject — Short answer
- Message — Long answer
You can make individual fields required if you want visitors to provide this information before submitting the form.
Add a title and a short description to your form if needed. A basic contact form doesn’t require any advanced settings.
Publish Your Tally Form
Once your form is ready, click Publish.
You need to publish the form before you can use its public URL on your Carrd website.
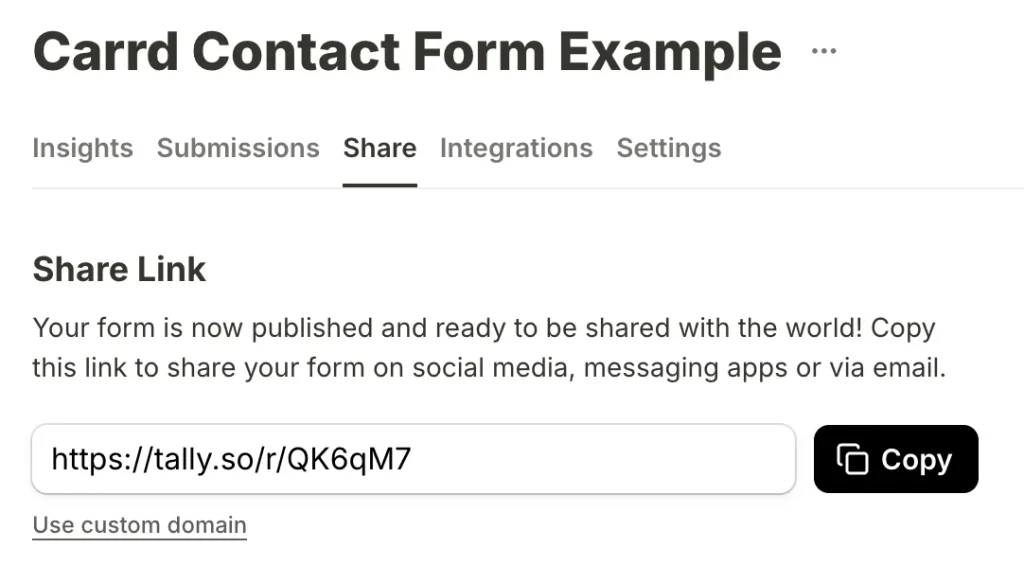
After publishing it, you can find the form in your Tally dashboard. Open the form and click Share to access its sharing options.
Add the Tally Form to Carrd
Tally provides several ways to share or embed your form. For this tutorial, you can use the form’s URL, just as with the Google Forms method above.
Copy the public Tally form URL from the Share section.
In your Carrd editor, add an Embed element and select Iframe.
Paste the Tally form URL into the URL field.
Carrd will then display the Tally form directly on your page. You can adjust the size and position of the iframe to fit your design.
Test Your Tally Form
Before publishing your Carrd website, test the form in both desktop and mobile views.
Make sure that:
- the entire form fits your layout
- all fields are visible
- the form can be submitted
- the confirmation message works correctly
- submissions appear in your Tally dashboard
You now have a custom Tally form embedded directly into your Carrd website without having to build the form itself inside Carrd.
Which Form Should You Use With Carrd?
The best option depends on what you need your form to do.
- Carrd Form — best for a simple contact form directly inside your Carrd website.
- Google Forms — a good free option for surveys, questionnaires, or simple forms with more fields.
- Tally — a good choice if you want a more customizable form while keeping the setup simple.
If you only need visitors to send you a message, the built-in Carrd Form is probably the easiest option. However, if you need a more flexible form, Google Forms or Tally can be better alternatives.
Carrd Form Integration Examples
There are many ways you can use forms on a Carrd website. The best setup depends on what you want visitors to do.
- Contact form — let visitors send you a message without opening their email app.
- Client inquiry form — collect project details, contact information, and other requirements from potential clients.
- Booking or request form — collect information before confirming a booking or service.
- Survey or questionnaire — use Google Forms or Tally when you need more questions or advanced form options.
- Newsletter signup — connect your Carrd form to an email marketing platform such as Mailchimp or another supported service.
- Event registration — collect names, email addresses, and other information from attendees.
- Feedback form — ask customers or visitors for feedback about your service, website, or event.
Final Words
Carrd gives you several ways to add forms to your website, whether you need a simple contact form or a more customized solution. The built-in Carrd Form is usually enough for basic contact and inquiry forms, while Google Forms and Tally are useful when you need more flexibility.
In this tutorial, I focused on getting these forms working with Carrd rather than covering every feature of the individual platforms. I will cover more detailed tutorials for working with external form services such as Tally and Google Forms in separate guides.
FAQ
Carrd has a built-in Form element that you can use to create simple contact and inquiry forms. It is available on Pro Standard and higher plans.
Yes. You can add a Google Form to Carrd using the Embed element and the form’s public URL as an iframe.
Yes. Publish your Tally form, copy its public URL, and add it to a Carrd Embed element using the Iframe option.
Yes. The Carrd Form and Embed elements require Pro Standard or a higher plan. They are not available on Pro Lite.
Both work well. Google Forms is a simple free option for surveys and questionnaires, while Tally offers more customization and a more flexible form-building experience.