
Carrd animations allow you to add movement and interactive effects to individual website elements. The Carrd website builder includes built-in animation options that you can apply without writing code. If you have some technical experience or use AI to help you, you can also create custom animations with CSS and JavaScript. However, some advanced features and custom code options require a Carrd paid plan, such as Pro Standard or Pro Plus, depending on the functionality you need.
How Carrd Animations Work
Carrd animations are applied to individual elements or sections to control how they appear, move, or respond to visitors. Depending on the selected effect, an animation can start when a page loads, when an element enters the screen, or when someone interacts with it.
Carrd includes built-in animation settings in its visual editor, so you can create common effects without writing CSS or JavaScript. You can also extend the available options with custom code if you want more control over movement, timing, and interactions.
The main difference is between built-in animations, which you configure directly in the Carrd editor, and custom animations, which you create or embed using additional code or external tools.
How to Add Animations in Carrd
Adding animations in Carrd is a simple process. You can follow the steps below to apply effects to individual elements, the page, or its background. You can also explore the Carrd editor without creating an account. However, some features and customisation options require a suitable paid plan.
Step 1: Open the Carrd Editor
Start by logging into your Carrd account or opening the free editor. Choose a blank page or a template or open an existing website you want to edit.
Step 2: Select an Element
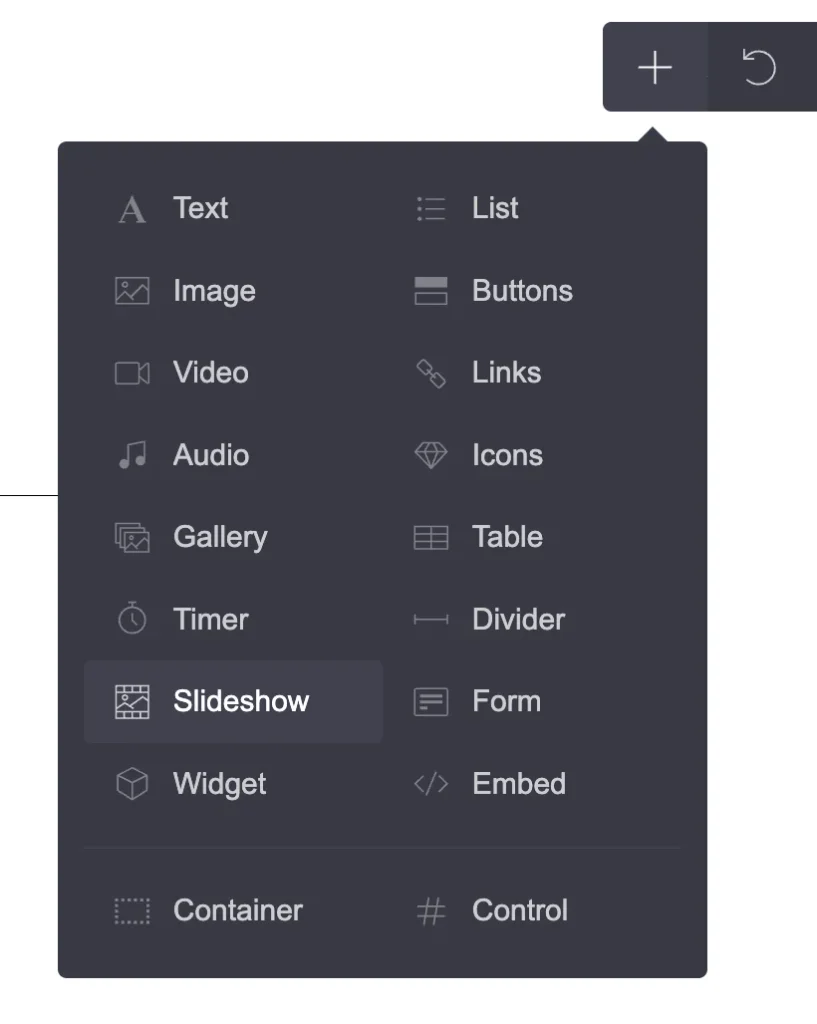
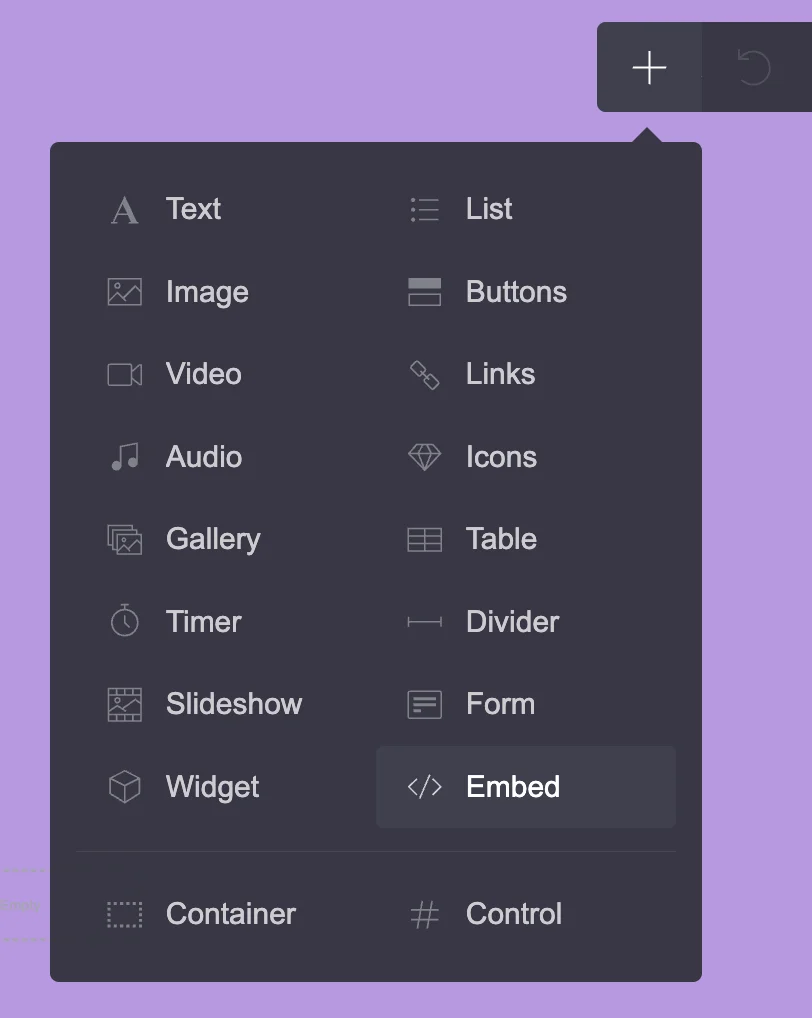
Click the element you want to animate. If you want to add a new element, click the plus icon in the top-right menu and choose the element you need.
Step 3: Select the Page or Background
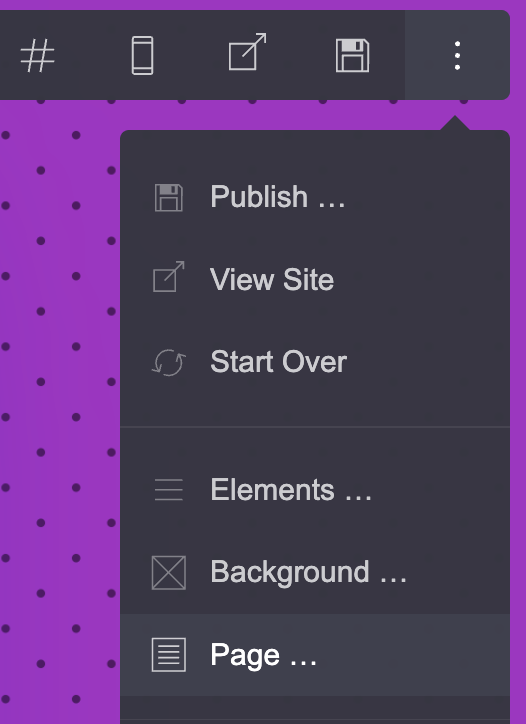
If you want to animate the page or its background instead of an individual element, click the three-dot menu in the top navigation bar. Choose Page or Background, depending on which part you want to edit.
Step 4: Open the Animation Settings
After selecting an element, the page, or the background, a settings panel will appear on the left. At the top of this panel, you will find several icons. Select the Play icon to open the animation settings.
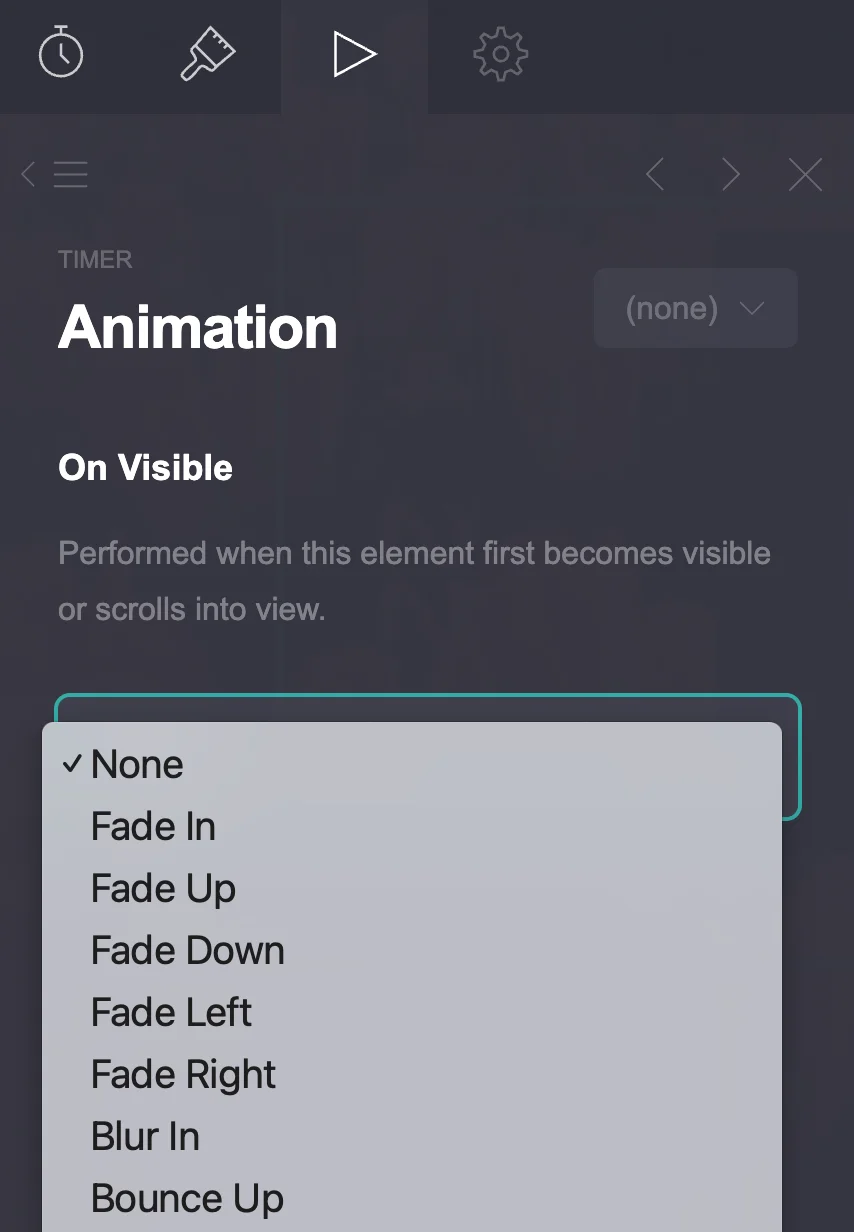
From there, you can explore the available animation options and adjust the effect to suit your design.
Types of Built-In Carrd Animations
Carrd offers several built-in animation effects that you can apply to different parts of your website. The available options depend on the selected element and whether you want an animation to run when the page loads, when an element becomes visible, or when a visitor interacts with it.
Page and Background Animations
| Website Element | Available Animations |
|---|---|
| Background | On load: Fade In and Wipe (Up, Down, Left, Right). |
| Page | On load: Fade, Zoom, Flip, and Blur, with different directional variations where available. |
| Page Elements | On load and on section change: Fade In, Blur In, and Zoom In/Out. |
| Links | On hover: Fade In, with adjustable duration. |
Element Animations
Many Carrd elements share the same entrance animation options. These effects can be triggered when an element becomes visible on the page.
| Element | Available Animations |
|---|---|
| Text, Timer, Table, List, Divider, Slideshow, Video, Audio | On visible: Fade, Blur, Bounce, Tilt, Flip, Slide, Pop, Wipe, Zoom, and directional variations. |
| Icons | On visible: Fade, Blur, Bounce, Tilt, Flip, Slide, Pop, Wipe, Zoom, and directional variations. On hover: Fade In, Grow, Shrink, Tilt, Raise. |
| Images and Gallery | On visible: Fade, Blur, Bounce, Tilt, Flip, Slide, Pop, Wipe, Zoom, and directional variations. On hover: Blur, Brighten, Colorize, Dim, Grow, Monochrome, Shrink, Tilt Left/Right, Unblur, Undim, Zoom In/Out. |
| Forms and Buttons | On visible: Fade, Blur, Bounce, Tilt, Flip, Slide, Pop, Wipe, Zoom, and directional variations. On hover: Fade In, Grow, Shrink, Tilt, Raise. |
| Containers | On visible: Fade, Blur, Bounce, Tilt, Flip, Slide, Pop, Wipe, Zoom, and directional variations. Contents on visible: similar animation options can be applied to the container’s contents. |
Animation Settings
Depending on the selected effect, Carrd also provides additional settings such as duration and intensity. These control how long an animation takes and how noticeable its movement appears.
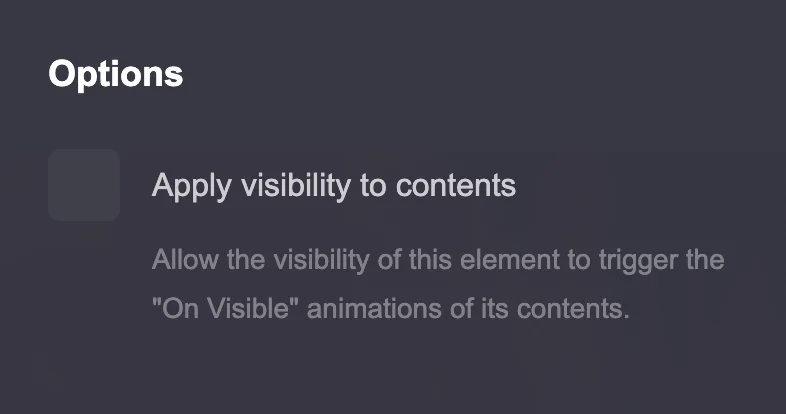
Some elements also include an Apply Visibility to Contents option. When enabled, this option allows the container’s visibility to trigger the on-visible animations of the elements inside it. For example, if a container holds a heading, a text block, and an image, their animations can start as the visitor scrolls down and the container enters the screen. This makes it easier to animate several elements within the same section without relying on the visibility of each element separately.
Parallax Effects in Carrd
Carrd also supports parallax effects, which create a sense of depth by moving background images or other elements at a different speed from the rest of the page as visitors scroll. These effects can add movement to a design without relying on traditional entrance or hover animations.
If you want to explore this technique in more detail, read our guide to creating parallax effects in Carrd.
Carrd Animation Ideas and Examples
Carrd’s built-in animation effects offer several ways to add movement and interaction to your website. You can use them to create subtle entrance effects, interactive buttons, animated image galleries, or more noticeable transitions between sections. Here are some animation ideas you can try in the Carrd editor, along with examples of how to use them in your own designs.
First Video
Heading text – fade in without delay and duration 2s.
Text under heading – blur in with delay 1,25s and duration 0,5s.
Image gallery – grow on hover with duration 0,125s and intensity very high.
Button – grow on hover with duration 0,75s and intensity set to Lower.
Second Video
Container – wipe left on visible, duration 2,25s, delay 0,75s, replayable.
Third Video
Container – fade in, duration 1s, delay 0,5s, threshold set to low.
Each image – animation is on visible and fade in but duration and delay grows with each image and has different parameters.
How to Add Custom Animations to Carrd
Carrd’s built-in animation settings cover common effects such as fades, slides, zooms, and hover interactions. However, you may want more control over how elements appear, move, or respond to scrolling. Custom CSS and JavaScript allow you to create these effects without switching to another website builder.
You can add custom animations through Carrd’s Embed element. CSS controls the visual effects, while JavaScript handles more advanced interactions and animation triggers. If you have not used custom embeds before, see another guide How to Add a Carousel to Carrd where I explain the embed element in more details.
Example: Staggered Scroll Reveal
Carrd’s built-in animations offer several preset effects, but you can create more advanced interactions using custom CSS and JavaScript. For example, you can make individual elements appear one after another as visitors scroll down your page.
To add custom animations, you need a Carrd Pro plan that supports the Embed element. You don’t necessarily need Pro Plus for this example because you can target individual elements using their automatically assigned IDs instead of custom CSS classes.
In this tutorial, we’ll create a staggered scroll reveal effect that combines a fade-in, a subtle upward movement, and a blur transition.
Step 1: Identify Your Element IDs
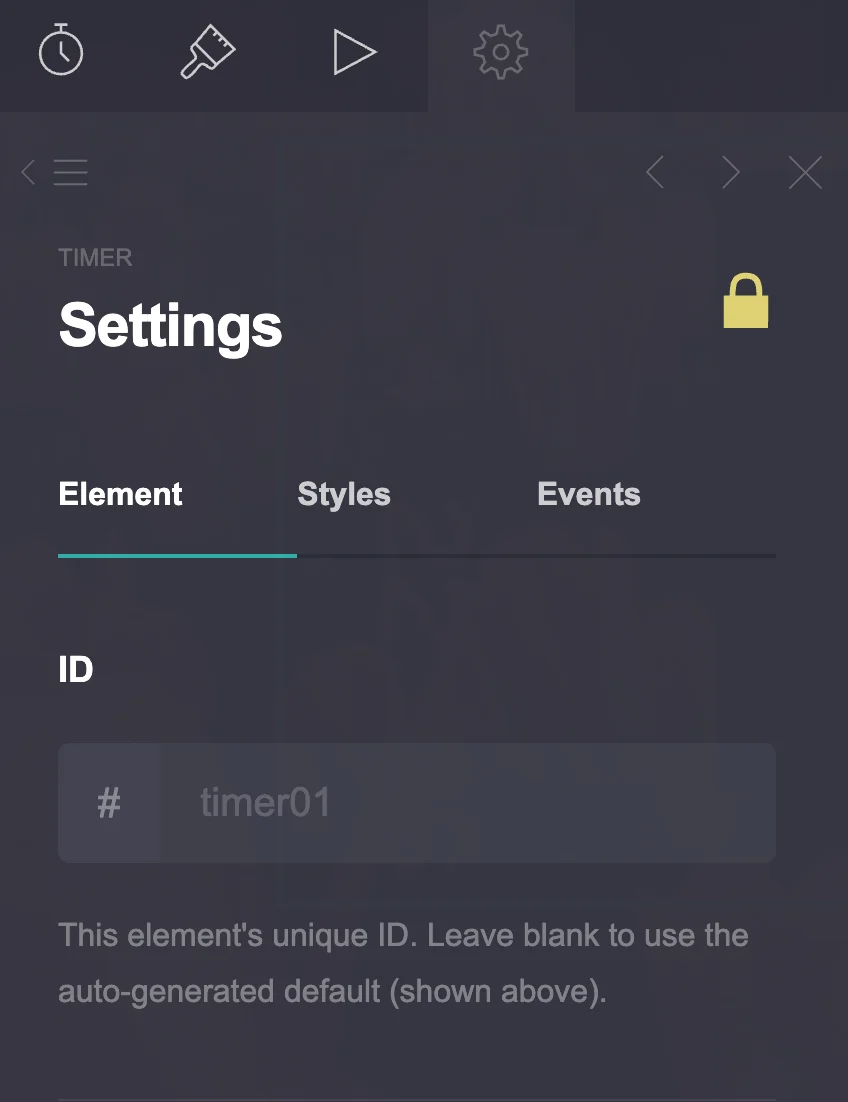
Select the element you want to animate in the Carrd editor. Open its settings and look for the automatically assigned element ID. Each element has its own unique identifier, such as #timer01, #timer02, or #timer03.
Step 2: Choose the Elements You Want to Animate
Decide which elements should appear as visitors scroll down. For example, you can select three text blocks, images, timers or containers. Note their IDs because you will need them in the custom code.
Step 3: Add the Custom Code
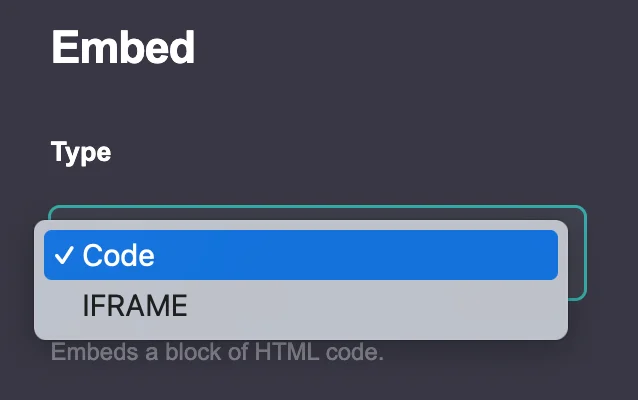
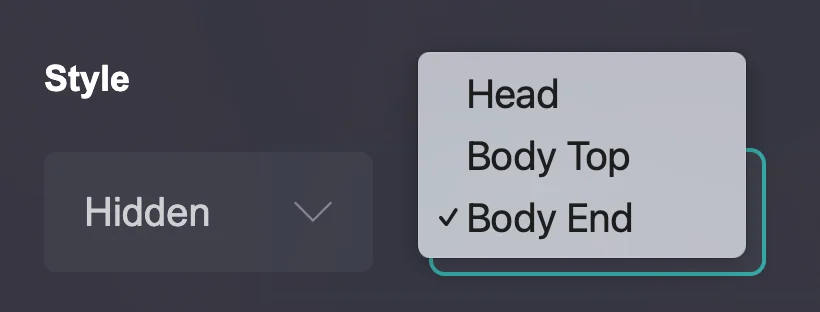
Add an Embed element to your page and insert the CSS and JavaScript code below. The code targets the selected elements by their IDs and applies the animation automatically. On the Embed panel also set the style: Hidden and Body End.
Step 4: Publish and Test Your Website
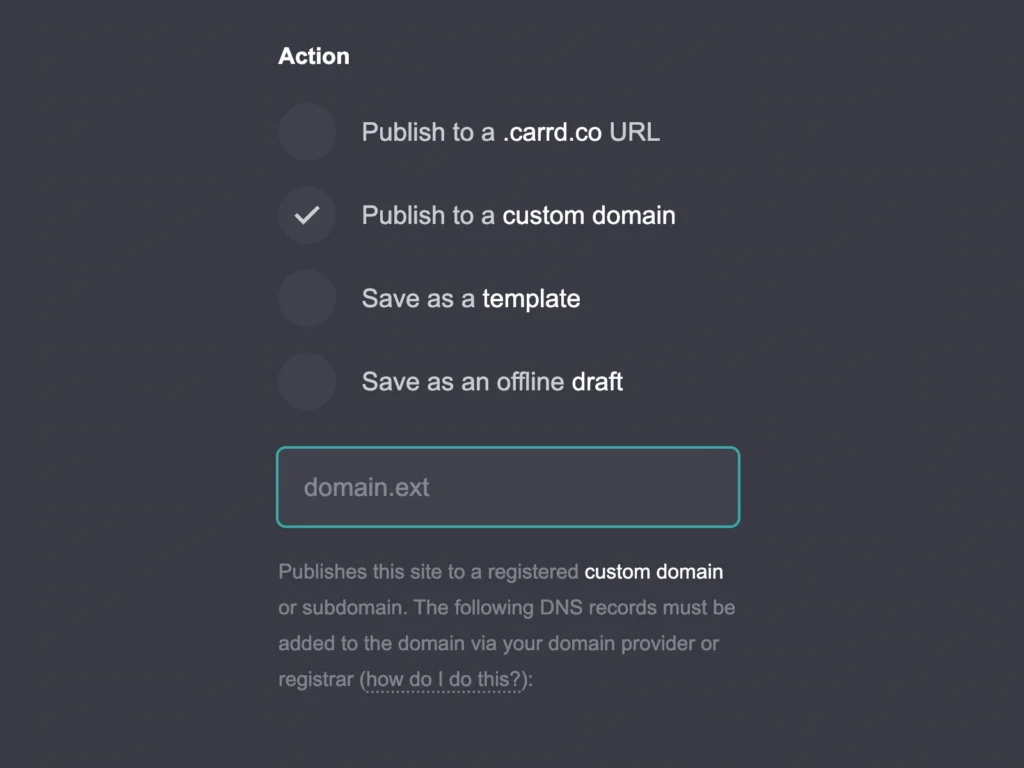
Publish your Carrd website (you can choose to publish on a subdomain if you don’t have your own domain yet) and scroll down to see the animation. Each element will fade in, move upwards, and lose its blur as it enters the visible area. The elements also appear with a slight delay to create a staggered effect.
You can change the animation duration, movement, blur intensity, and delay values in the CSS to customise the result. And of course don’t forget to change the ID names #timer01, #timer02, or #timer03.
<style>
/* Initial animation state */
.timer-reveal-ready #timer01,
.timer-reveal-ready #timer02,
.timer-reveal-ready #timer03 {
  opacity: 0;
  transform: translateY(35px);
  filter: blur(5px);

  transition:
    opacity 0.8s ease,
    transform 0.8s cubic-bezier(0.2, 0.7, 0.2, 1),
    filter 0.8s ease;
}

/* Visible state */
#timer01.is-visible,
#timer02.is-visible,
#timer03.is-visible {
  opacity: 1;
  transform: translateY(0);
  filter: blur(0);
}

/* Individual delays */
#timer01 {
  --reveal-delay: 0ms;
}

#timer02 {
  --reveal-delay: 180ms;
}

#timer03 {
  --reveal-delay: 360ms;
}

.timer-reveal-ready #timer01,
.timer-reveal-ready #timer02,
.timer-reveal-ready #timer03 {
  transition-delay: var(--reveal-delay);
}

/* Accessibility */
@media (prefers-reduced-motion: reduce) {
  .timer-reveal-ready #timer01,
  .timer-reveal-ready #timer02,
  .timer-reveal-ready #timer03 {
    opacity: 1;
    transform: none;
    filter: none;
    transition: none;
  }
}
</style>

<script>
(function () {
  function initTimerReveal() {
    const elements = [
      document.getElementById("timer01"),
      document.getElementById("timer02"),
      document.getElementById("timer03")
    ].filter(Boolean);

    if (!elements.length) return;

    if (
      window.matchMedia("(prefers-reduced-motion: reduce)").matches ||
      !("IntersectionObserver" in window)
    ) {
      return;
    }

    document.documentElement.classList.add("timer-reveal-ready");

    const observer = new IntersectionObserver(
      function (entries) {
        entries.forEach(function (entry) {
          entry.target.classList.toggle(
            "is-visible",
            entry.isIntersecting
          );
        });
      },
      {
        threshold: 0.15
      }
    );

    elements.forEach(function (element) {
      observer.observe(element);
    });
  }

  if (document.readyState === "loading") {
    document.addEventListener(
      "DOMContentLoaded",
      initTimerReveal
    );
  } else {
    initTimerReveal();
  }
})();
</script>Carrd Animation Limitations
Carrd may feel limiting if you want complete control over website animations without writing code. However, its limitations depend on what you expect from the platform. If you are comfortable working with CSS and JavaScript and have a suitable paid plan, you can create effects that go well beyond the built-in options.
For users who prefer the free editor and don’t want to work with custom code, Carrd is better suited to simpler animations and interactions. It can still be enough for a clean, visually engaging website, but it offers less flexibility for complex motion effects.
Final Words
Carrd offers a simple way to add movement and interaction to your website, whether you prefer its built-in effects or want to experiment with custom code. You don’t need complex animations to create an engaging design. Sometimes, a subtle hover effect, a smooth text reveal, or a well-timed transition is enough to make a page feel more polished.
Start with a few effects, experiment with different combinations, and see what works best for your design. Most importantly, make sure your animations support the content rather than distract visitors from it.